
Appliance
The Enterprise Edition (EE) version of RegScale can be run as a virtual appliance. We provide an ISO that can be installed on a Virtual Machine (VM) or physical server; either in your private cloud instance or on premises data center.
This version provides a quick installation for test and evaluation and is appropriate for production (unless the use case requires high availability, non-disruptive upgrades, or storing massive amounts of data that exceed the SQL Express limitation of 10 GB). There is a built-in SQL Server Express 2019 database so you have everything you need to run RegScale on a single VM/server.
This document provides installation files and instructions for deploying the RegScale ISO appliance.
Background
RegScale created a convenient and straightforward way to run ATLAS on a single VM/server, even without connecting to a remote database. This guide will allow a customer to spin up a VM using an ISO and run RegScale; all within their own environment (laptop, desktop, or VM). This approach allows our customers to quickly and easily test and evaluate the product without external dependencies on infrastructure (which can take a long time to provision in Enterprise environments) and with no up-front costs for the evaluation. Additionally, the appliance allows a "single server" approach with everything needed built into the appliance.
It is designed to have everything you need to get up and running on RegScale with no Internet connection and no external database in under 15 minutes!
Under the Covers
The appliance is built on a scaled-down version of Debian 10.x, called Turnkey Linux. It automatically downloads OS updates and installs them. We have also included Command Line Interface (CLI) tools within the appliance to update RegScale, the SQL Server Database, and other core RegScale-related files (i.e. Infrastructure as Code YAML files). It runs Docker and Docker-Compose so you can easily update the application image using our CLI to get the latest features and security updates.
In order to setup the appliance, the customer should take the following steps:
Pre-requisites
- You need to have a way to mount an ISO to perform the installation. This has been successfully tested in VMware Workstation/Player/Fusion, VMware vSphere, Microsoft Hyper-V, and VirtualBox.
- For these screenshots, we are using VMware Fusion
- You need to have console access to the virtual machine or physical server for the initial installation
- For updates, you need an internet connection (not required for initial install, but HIGHLY recommended for security and feature updates). NOTE: Out of band updates are possible but add complexity in Operations and Maintenance for managing the appliance over time.
Architecture
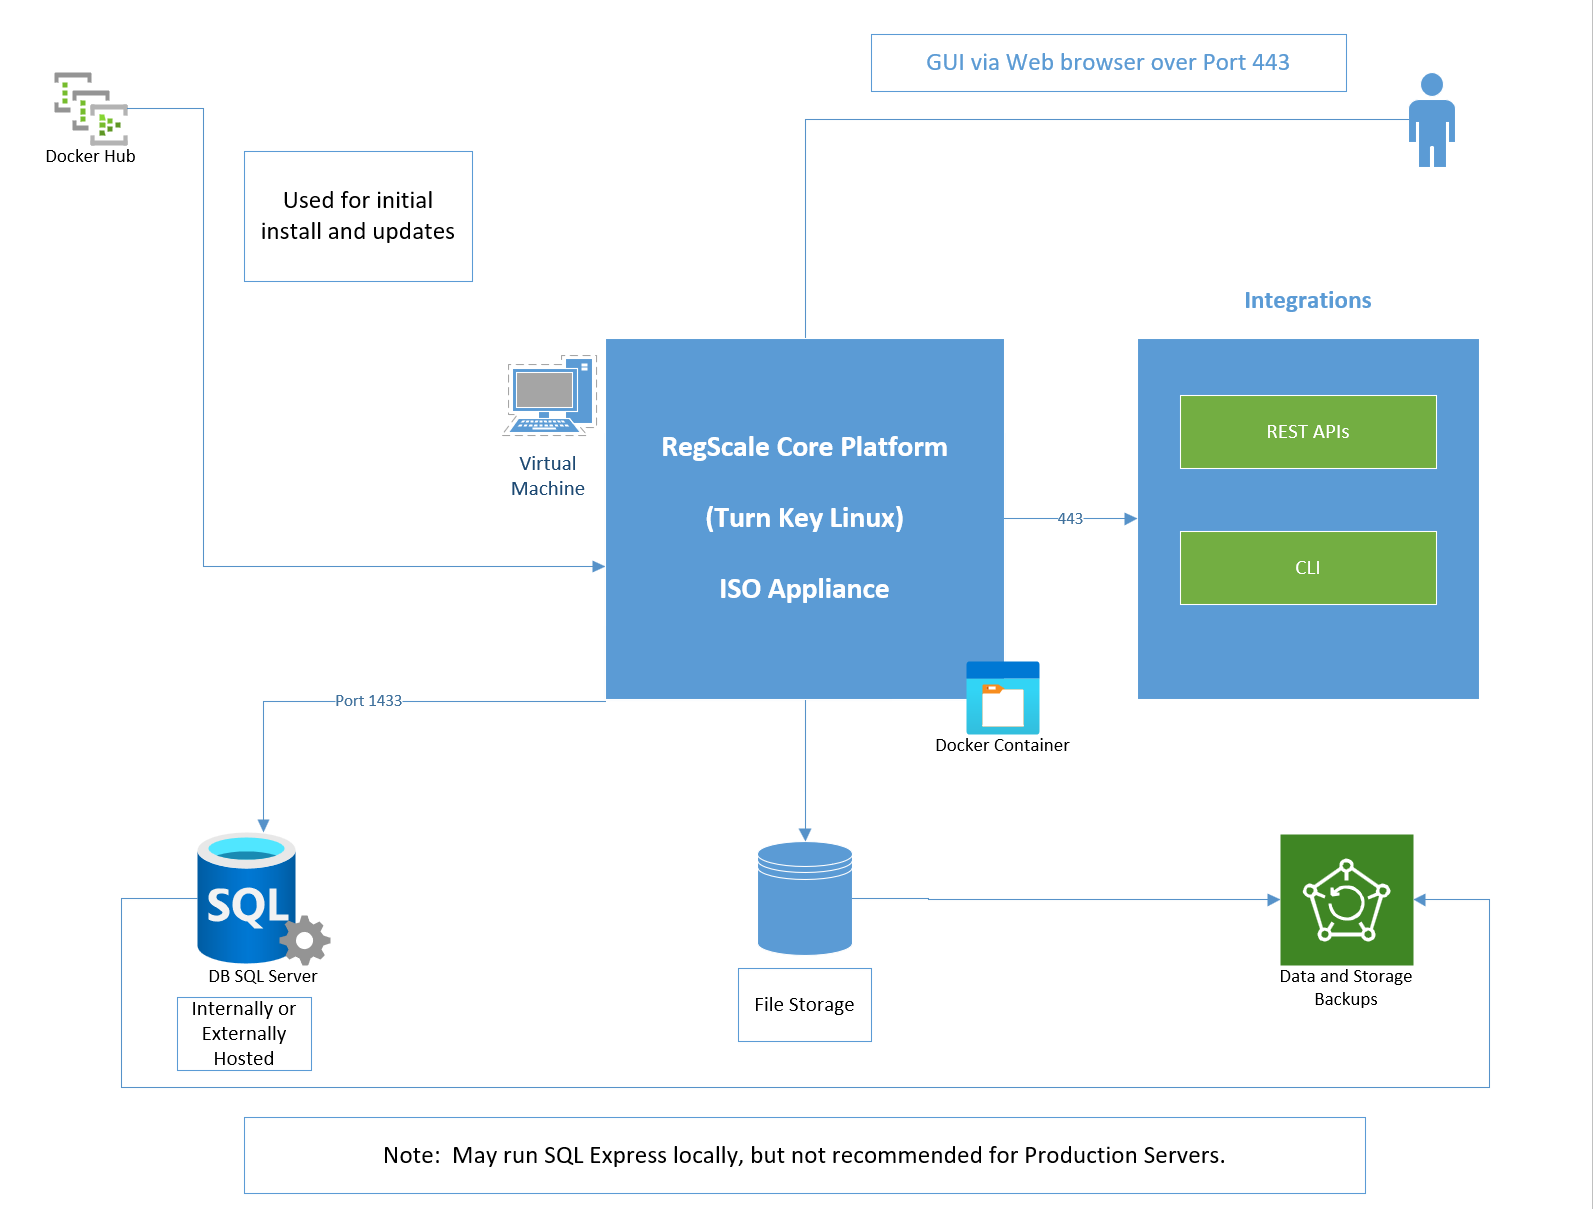
The overall components of this architecture are described below:
- RegScale Core Platform - Turn Key Linux ISO Appliance that runs on a Virtual Machine (VM) based on Debian. It is typically installed in an on-premise VMware or Hyper-V environment. This appliance is the core of the application and contains the Angular front end and middle tier of C# Application Programming Interfaces (APIs)
- Docker Hub - repository that contains all published releases of RegScale containers which can be pulled for installations or upgrades
- APIs - Representational State Transfer (REST) APIs that are well defined with a published Swagger interface for developing automations and integrations
- Command Line Interface (CLI) - sidecar for bulk data processing via the command line (OPTIONAL and only available for Enterprise Customers). It should run on RHEL or Ubuntu in a separate VM which can schedule CRON jobs or other means to batch update large amounts of data.
- SQL Server - relational database for storing RegScale data. It is typically installed into an existing database cluster or a cloud Relational Database Service (RDS). For test and evaluation, you can also install a local SQL Server Express instance on the same VM but this is not recommended or supported for Production use.
- File Storage - RegScale allows customers to upload and encrypt evidence inside of the platform. Storage is needed to hold this data and is typically thin provisioned to allow expansion over time.
- Backups - both the database and file storage should be routinely backed up. The container does not need to be backed up as it is immutable and stateless.
Sizing Guidance
Below you will find the sizing guidance, based upon your install type:
- Recommended for Test/Minimum for Proof of Concept (POC) with a small number of users
- 2 CPU
- 8 GB RAM
- 60 GB HDD
- Recommended for Production (NOTE: Actual sizing may vary based on the number of expected concurrent users; 4 CPU and 16GB of RAM for every additional 500 users):
- 4 CPU
- 16 GB RAM
- 80 GB HDD
Install to local drive
If using VMware Player, download our guide for step by step directions.
- Download the ISO file:
- Download RegScale Appliance ISO
- Create a new VM (NOTE: This guide assumes basic familiarity with loading ISO images into your virtualization platform of choice (vSphere, Hyper-V, etc.). Detailed instructions for VMware Player are provided for basic/local test and evaluation):
- Name it RegScale
- Choose Debian 10.x 64-bit for OS if you have an option
- Choose Legacy BIOS (VMware) or Gen 1 (Hyper-V)
- Choose the sizes from above (Sizing Guidance) for CPU/Memory/HDD
- For network, make sure you have the right network selected. It needs to be accessible to your clients
- Mount the ISO (
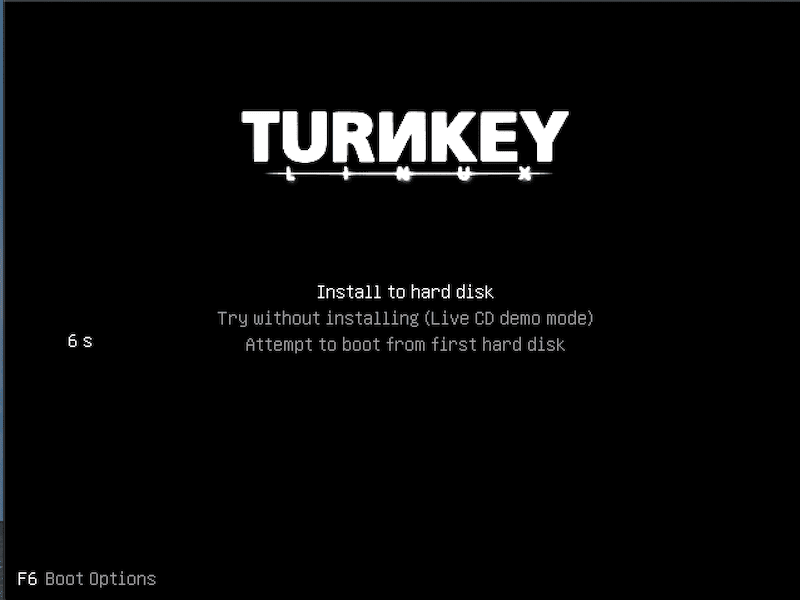
atlasity.iso) in your VM/server and boot to the ISO - Start the VM/server
- Install to Hard drive
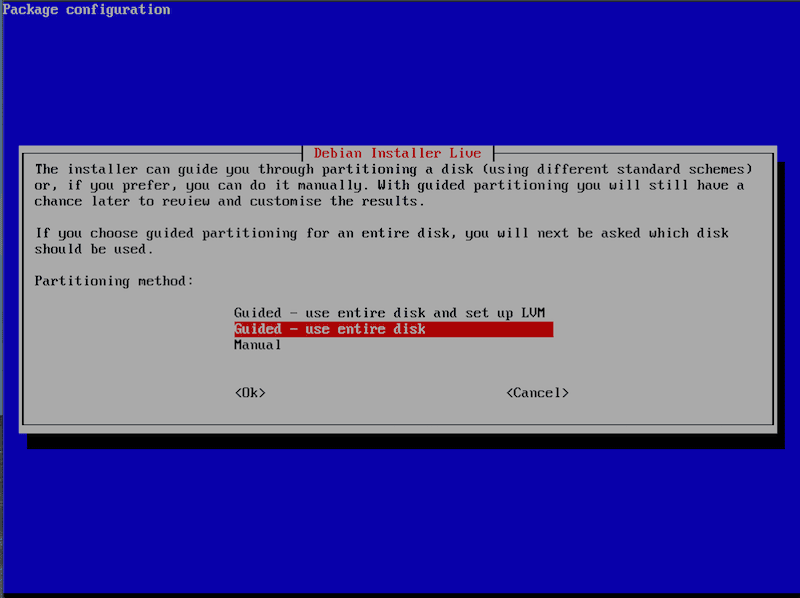
- Choose
Guided - use entire disk
- Choose
Finish partitioning and write changes to disk
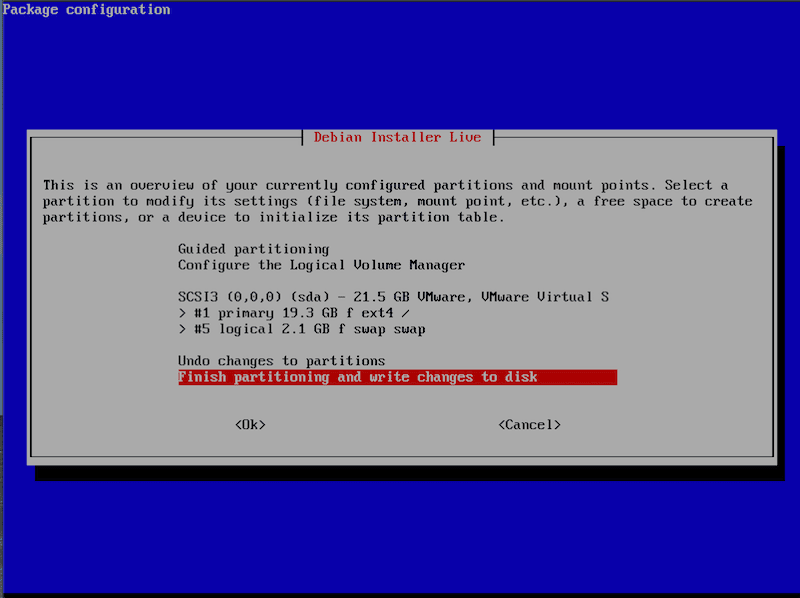
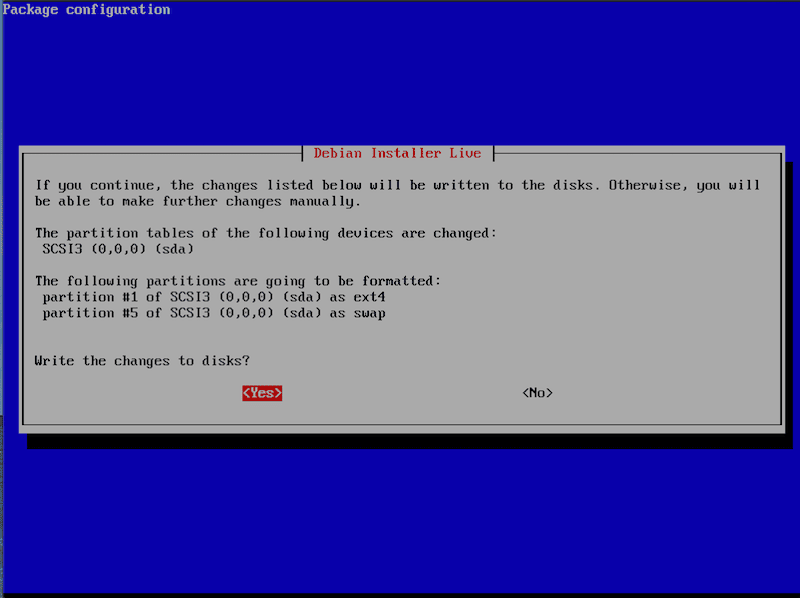
- Choose
Yesto write the changes to the disk
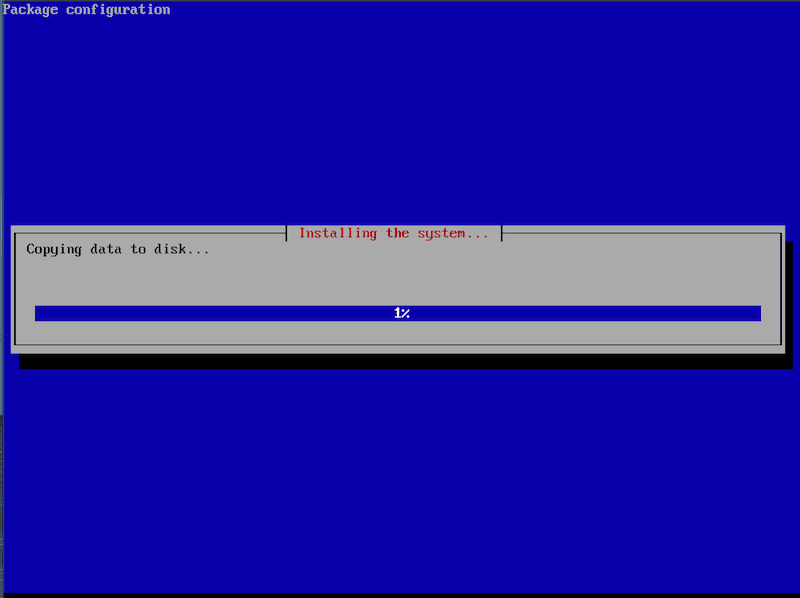
- The install will now take a couple minutes to copy data from the ISO to the disk
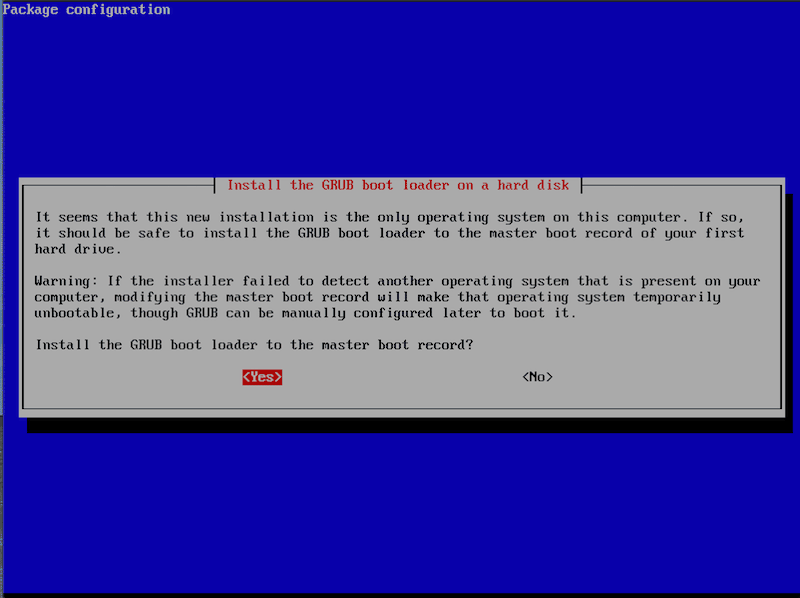
- Choose
YESto install the GRUB boot loader to the master boot record
- Choose
Eject(this only works with some VM software)
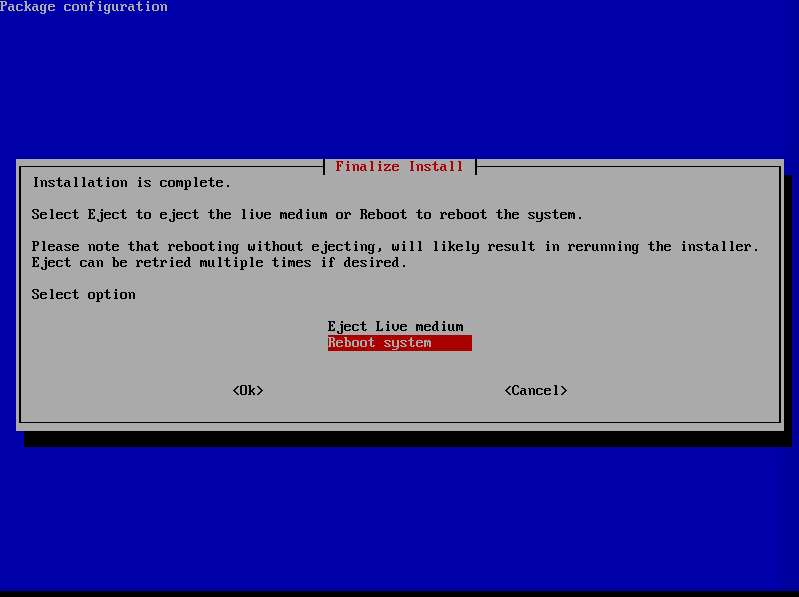
- Press
OK
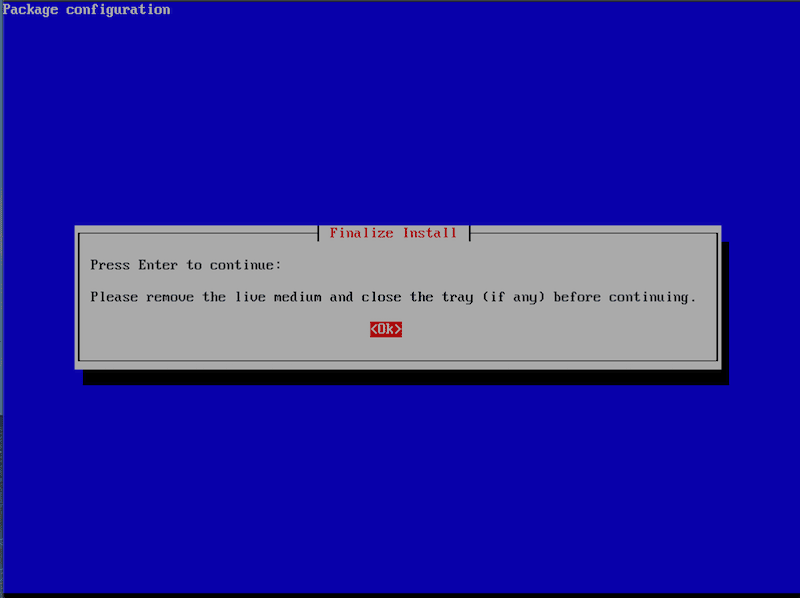
- Choose
Reboot system
- The system will now reboot. If you see the Turnkey screen from step 5:
- Choose
Attempt to boot from first hard disk - Go into your VM settings and ensure that the ISO is ejected/removed from the VM, so you will not continue to get this screen.
Install is now complete, and you are ready for initial configuration!
Initial Configuration
You now have the ability to configure your appliance for the first time. This configuration ensures all the passwords and keys are truly yours and not built in or hardcoded. Most of the dialogs have the ability to randomly generate a value or you may use your own.
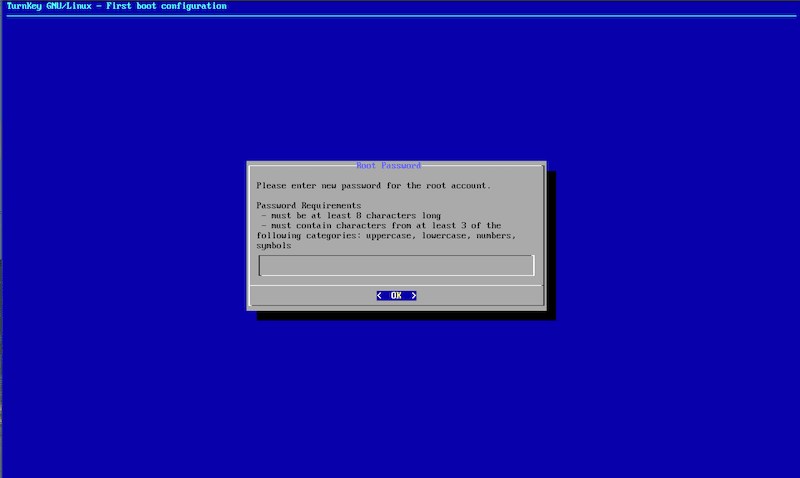
NOTE: These are your passwords/keys. RegScale and RegScale Support do NOT have a way to get in if you forget them, so please ensure you document and keep the root password in a safe/secure place
- Enter your root password. This is used to login to the appliance (not the application)
- Choose to Generate or Specify a SQL Password. This is used internal to the appliance for RegScale to connect to the interal SQL database.
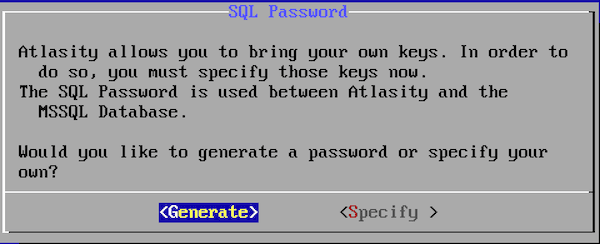
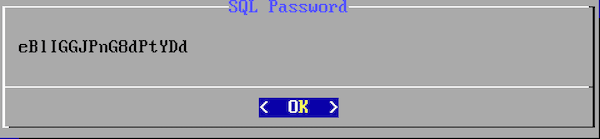
- If you chose
Generate, it will show you the password it generated. You do not actually need to record this password; it is for information. If you chooseSpecify, you will then be prompted to enter your own password.
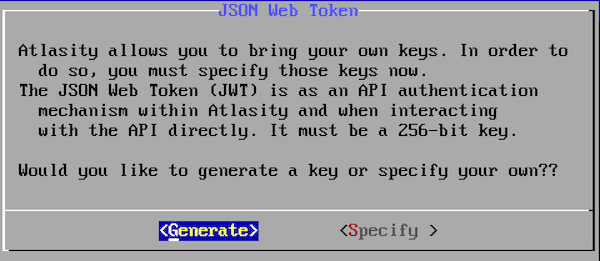
- Choose whether to
GenerateorSpecifya JSON Web Token Key. This is a 256-bit key. We recommend choosingGenerateto randomly generate a key that is the right length and complexity. After it is generated, it will also show you the key. This is used internally, so you do not need to record it.
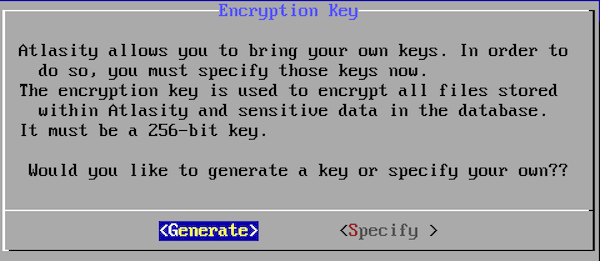
- Choose whether to
GenerateorSpecifythe Encryption Key. This is a 256-bit key. We recommend choosingGenerateto randomly generate one that is the right length and complexity. After it is generated, it will also show you the key. This is used internally, so you do not need to record it.
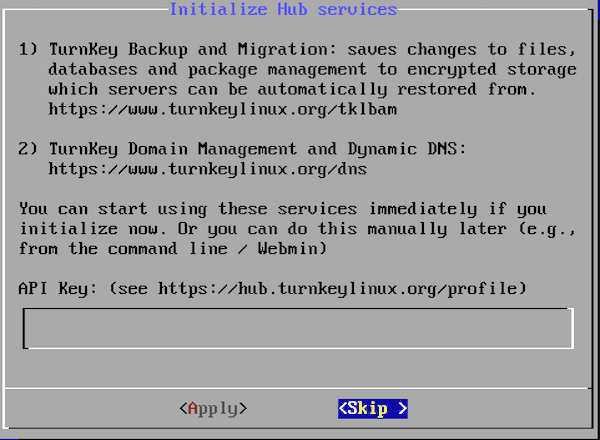
-
This next screen is if you would like to use TurnKey's Backup and Migration utility and/or Dynamic DNS. We recommend skipping for now; you can always configure it later. You can learn more at:
-
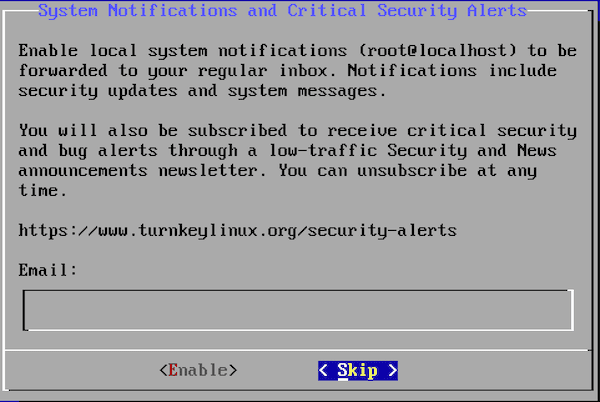
This next screen is to configure system notifications and critical security alerts to be sent to an email address. We recommend choosing
Skipfor now, but you are welcome to subscribe. Learn more here:
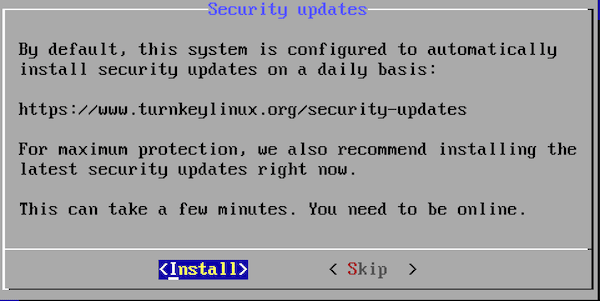
- The final screen is to go ahead and download the latest OS security updates. If you have an internet connection, choose
Install. This will take a few minutes and likely require a reboot.
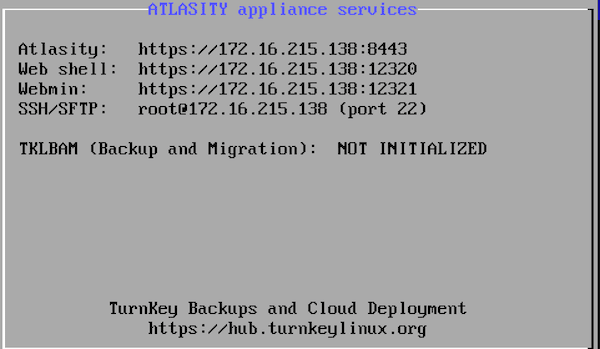
- You are now up and running! You should see the following screen (with your IP addresses, of course):
NOTE: After RegScale is up and running, you may be asked to log into the VM. If so, use following credentials:
- User Name:
root - Password:
enter the password you entered in step 1 of the initial configuration
Use RegScale
You will need to wait a couple minutes until RegScale is fully up and operational (NOTE: Initial database setup and configuration may take up to 3 - 5 minutes to complete). You can access it at the IP listed above in step 9.
-
- Point your browser to https://1.2.3.4:8443
- You will have to accept the certificate warning. The appliance is using a self-signed certificate generated at intial configuration time.
- See Post-Deployment Steps to continue
Warnings and Licensing
The appliance is self-contained which makes it easy for rapid deployment but it does come with some caveats:
- It is the customer's responsibility to backup the VM periodically. All data is stored inside the VM and backups are needed to restore properly in the event of an issue.
- The built in-database is SQL Server Express. Customers are responsible for any Microsoft licensing and must stay within the constraints of the free license. However, this instance can be upgraded at any time based on customer need but the additional Microsoft licensing costs are not included in the license cost for RegScale.
Troubleshooting and Helpful Commands
atl status- get status of RegScaleatl logs- view running logs for troubleshootingdocker container ls- view list of running containersdocker logs 013- pull logs from a specific container using first 3 characterscd /atlas/system- change directories to where teh docker-compose file residescat docker-compose.yml- show the contents of the Docker Compose file
Appliance Administration
The appliance has built-in tools for administration, to run RegScale updates, and other configurations:
atl
- This is the primary tool used for administering RegScale on the appliance
- You can get up to date help at any time by typing:
atl help
- To show the current versions:
atl version
- To update RegScale, SQL, and the appliance:
atl update
atlupdate
- This is the the tool to update the
atlcommand - You can get up to date help at any time by typing:
atlupdate help
- To show the current versions:
atlupdate version
- To update RegScale, SQL, and the appliance:
atlupdate update
Manual Compliance Administration
In the event you encounter issues with the CLI or if you prefer to manually handle instructions to have full control over what commands execute, we have provided the below instructions to manually update RegScale:
- First log into the appliance
- Edit /atlas/system/docker-compose.yml using the built-in VI editor
- Update the image tag to the version you wish to upgrade
- Restart RegScale
docker-compose downdocker-compose pulldocker-compose up -d
These commands should update RegScale to the specified version and bounce the container to apply the update. NOTE: Bouncing the container will cause a short outage while the container patches and restarts.
Updated 9 months ago